
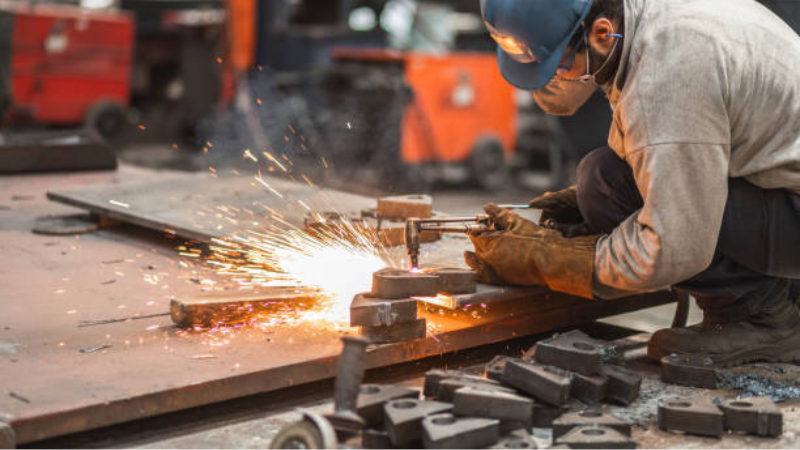
For a successful metal fabrication, you must choose a suitable welding technique.
In today’s guide, we are going to explore all fundamental facts about oxy-acetylene welding process. From equipment you need, welding process, welding position, flame and techniques, among other vital aspects.
Therefore, before starting your next oxy-acetylene welding, read this guide.
What is Oxy-Acetylene Welding?
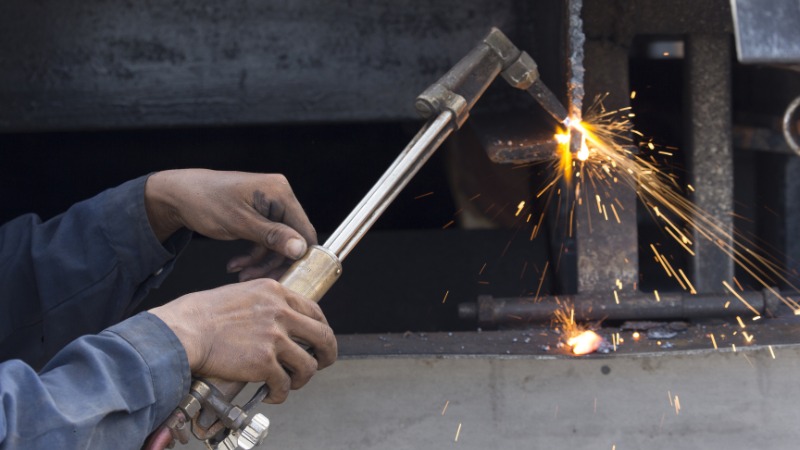
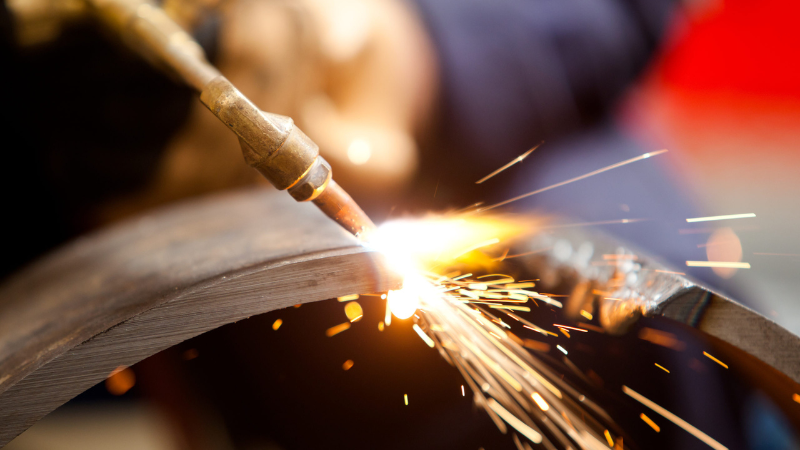
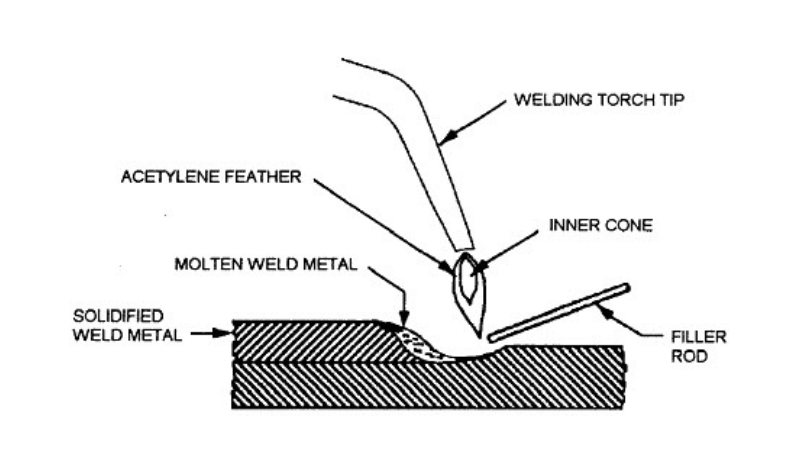
Oxy-acetylene welding depends on ignited oxygen and acetylene gas to produce flame that is capable of melting and fusing metals. Depending on the flame control, it is easy to change the heat and therefore use the technique for cutting, welding, and repair.
Equipment and Components you Need
1. Oxygen Cylinder
It is the main source of oxygen gas for the welding operation. You have to make sure that the offered cylinder is placed in the right position and well secured to avoid any mishaps. The cylinder consists of high-strength steel where the oxygen pressure is expected to be high.
It allows the variability of the oxygen rate, which is essential to setting the required flame intensity as well as ensuring safe welding.
2. Acetylene Cylinder
In the case of the acetylene cylinder, you have acetylene gas dissolved in acetone under pressure. This cylinder is particularly protected against the instability of the acetylene gas that is contained inside it.
It stands upright to maintain the stability of acetone so that in its gas form it will be safe to handle. You must frequently check for signs of damage on the cylinder and ensure that it is kept at a certain distance from the heater.
3. Regulators
You rely on the regulators to regulate the pressure and the rate of flow of gases in the cylinders to the torch. These are connected to the oxygen and acetylene cylinders and enable the user to control the flow of the gas depending on the welding needs. Through the pressure gauges on the regulators, you check that they are fully charged with the gas to give a consistent performance.
4. Hoses and Torches
You move oxygen and acetylene through hoses from the cylinder to the torch. The hosses are marked for differentiation (green for oxygen and red for acetylene) to avoid confusion. You examine them periodically for any form of crack or leakage to ensure that it is safe to operate.
At the torch, the kind of flames is controlled by regulating the gas and air mixture. This is because the position of the valves on the torch can be altered to adjust the flame for different welding operations.
One should ensure that the hoses and torches are properly maintained to avoid accidents and produce sharp cuts.
5. Nozzles
Nozzles, which are fitted to the torch, are essential in directing the flame while welding is in progress. According to the application, one uses the appropriate nozzle size and kind for welding, cutting, or heating applications. By selecting the correct nozzle, you determine the flame profile and the heat output, which is critical for accuracy and results.
Nozzles are cleaned and inspected on a regular basis to ensure that they are clear. Blockages occur and affect the gas flow and flame performance and therefore the weld quality.
6. Mixer Chamber
In the mixer chamber, you blend oxygen and acetylene to produce the welding flame. This component plays a vital role in ensuring that the right gas mixture is produced before it comes out through the torch nozzle. In order to achieve the optimal combination, you have to fine-tune your gas flows, which in turn leads to a stable and efficient flame.
7. Flame Traps
Flame traps are used to protect against such activities as flashbacks where the flame is likely to reverse and go back to the hoses. These safety devices, mounted between the torch and hoses, protect the gas cylinders from the flame, which can cause an explosion. Therefore, incorporating flame traps into the system provides an added security measure so that any flashback is effectively handled to eliminate any risks.
8. Safety Gear
While welding, you are always protecting yourself by putting on the right protective gear. You protect your eyes with special goggles or the welding helmet in order to shield from the strong light and sparks. All protective gear that workers use when handling hot metals and dealing with flames is used to avoid getting burned. Personal protective equipment also includes respiratory protection, especially in the enclosed area from toxic vapors.
Basic Facts Oxy-Acetylene Flame for Welding
· Neutral Flame
To weld, you create a neutral flame by maintaining a proper blend of oxygen and acetylene, which results in a flame that is steady and even. This flame is useful in providing the right temperature for fusing the majority of metals aptly.
· Oxidizing Flame
You get an oxidizing flame with more oxygen than acetylene, hence it is hotter than the carburising flame. This flame has applications in metal cutting and welding of materials such as brass, but it is detrimental to steels as it tends to oxidize them.
· Carburizing Flame
You get a carburizing flame with extra acetylene, and as a consequence, you get a cooler and softer flame. This type is useful in processes such as the brazing or welding of the metals that are comparatively susceptible to heat.
Step-by Step Oxy-acetylene Welding Process
Step 1: Preparation
The first step is the preparation of all the required materials and equipment in a very effective and proper manner. To achieve a clean surface of the metal, it is advisable to remove any rust, grease, and dirt from the surface. Check every connection is tight and set the appropriate pressure on your gas regulators.
Actually align your workpieces properly when it comes to this and also ensure that you have installed the correct nozzle. Preparation is important in order to prevent mistakes and also to guarantee that the welds will be clean and very powerful.
Step 2: Ignition
To light the oxy-acetylene torch, you turn the acetylene valve a little and then use an ignition lighter to burn the gases. Then, you slowly turn the oxygen valve while controlling the flame to get the desired type—neutral, oxidizing, or carburizing flame. Flame control is crucial in determining the right heat to be used in order to help in the welding process.
Step 3: Welding
When welding, you purposely lead the flame of the torch over the workpiece in a steady pace and posture. You keep the right flame type and flame intensity for the specific material you are using. With the help of heat and motion, the base metals and the filler material become molten.
As a result, a strong and uniform weld is produced. It is very important to have a steady hand and concentration to obtain the clean professional work that is desired.
Step 4: Termination
When you have done welding, you slow down the flow of oxygen and acetylene, and then the flame is cut off. Finally, after extinguishing the flame of the torch, you switch off the gas supply valves on both cylinders. To finish the process, it is necessary to bleed the hoses since the torch valves should be opened to let the gas escape. Lastly, check the weld for soundness and absence of defects before allowing it to cool.
Know the Best Welding Positions for Superior Finish
· Forward Gas Welding
Forward gas welding, involves holding the torch in the right hand and the filler material in the left hand. You start at the right side and move to the left when welding. By controlling the positions of the torch and the filler rod, you create a smooth and controlled weld as you progress leftward.
· Backward Gas Welding
Backward gas welding, also referred to as rightward gas welding, is welding that starts from the left end and proceeds towards the right. You hold the torch and filler rod at angles that can be easily managed to control the progress made. This method necessitates precise manipulation of the torch in an effort to ensure that the weld remains steady as one moves from left to right.
· Vertical Welding
For vertical welding, you should grip the torch with your right hand and the filler rod with your left hand. Begin at the lower part and weld at the upward direction using the filler rod to point the flame direction.
The use of this technique is often closely monitored to prevent complications arising from the force of gravity. It is generally slower than horizontal welding since it is challenging to sustain a constant weld in the vertical position.
Adjusting the Flame during Welding Process
To reduce the flame, you first mix oxygen and acetylene till you get a middle flame, also known as the neutral flame.
Add more oxygen to produce an oxidizing flame or acetylene in order to produce a carburizing flame.
Flame characteristics are influenced by parameters such as gas flow rate, type of nozzle used, and angle of the torch. In this way, these variables are tempered so that the flame is that which is apt to fit the welding or cutting requirement that is offered.
Common Welding Joints you Can Achieve
1. Butt Joint
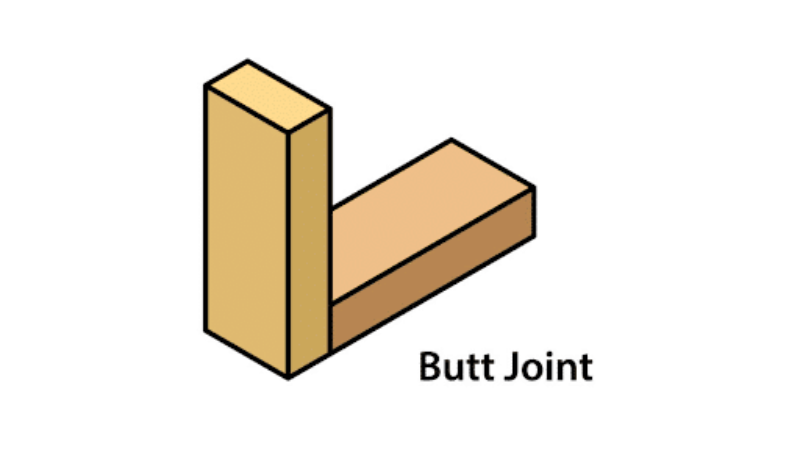
To make a butt joint, you place two metal pieces side by side, end to end, and then weld the two metals. This joint is used for joining flat pieces, and particular attention is paid to the orientation of the parts to be joined firmly.
2. Lap Joint
You place two pieces of metal one on top of the other in such a way that the edges overlap, weld through the overlapping region. This type of joint offers good anchoring and is very suitable for connecting metal plates of dissimilar thickness.
3. Corner Joint
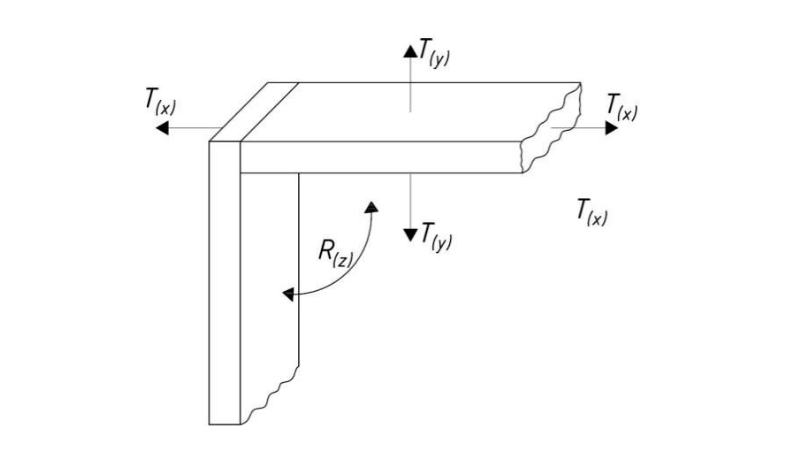
In a corner joint, you join two metal pieces where one is placed perpendicular to the other in a corner. You weld along the seam where the two pieces join, which provides a strong corner joinery.
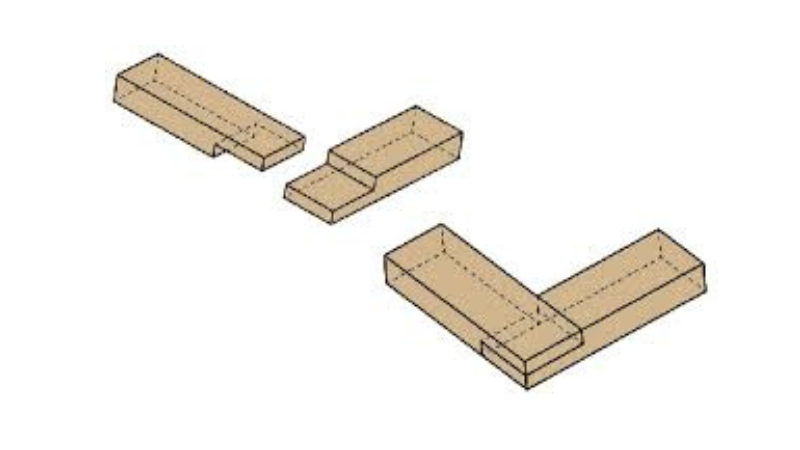
4. T-Joint
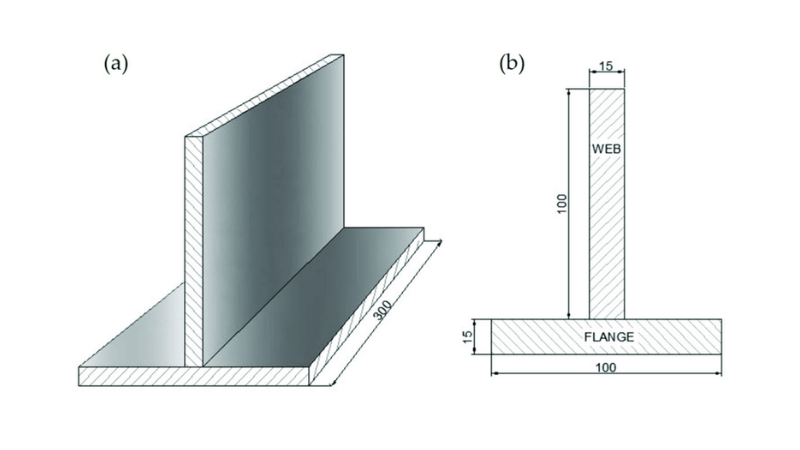
A T joint is formed by positioning two metal pieces perpendicular to one another, creating a “T” shape. For structural supports, it is best to weld near the point where the two sections converge.
Applications of Oxy-acetylene Welding
- Metal Cutting
- Brazing and Soldering
- Repair Work
- Artistic Applications
- Fieldwork
Conclusion
Because it provides versatility in welding, cutting, and repair, oxy-acetylene welding is still an essential technique for metal manufacture. This method is essential for a variety of industrial applications since it can be mastered to assure accuracy and dependability.
More resources;
TIG Welding vs. Heliarc Welding – Source: KDMSTEEL
Manual Metal Arc Welding – Source: KDMFAB
Laser Welding – Source: KDMFAB
MIG vs TIG Welding – Source: KDMFAB
Tack Welding – Source: KDMFAB: