


Steps on How to Properly Welding Tubes and Pipes - The Ultimate Guide!
There are times that many of you question how to weld tubes and pipes, and how it helps our modern society. Wedding is a process that is very useful in joining two or more tube pipes that are highly needed for different industries such as automotive, aerospace, oil, and gas industry, and many others which are highly needed for our everyday life. Below is the guide on what are the step-by-step process, the preparations, proper wearing of safety gear, and many others. Keep reading!
Step 1: Gathering all Materials, tools, and Welding Equipment
- Charged Electrodes
- Different Welding Machines
- Angle Grinders
- Levels
- Wire Brushes
- Squares
- Wire feeds and Electrodes
- Tape Measure
- Philip Screw
- Flathead Screwdrivers
- Chipping slag hammer
- Electrode tip Cleaner
- Welding Gloves
- Welding Helmet and other safety gears
- Solid boots
- C-clamps
- Ball Peen Hammer
- Ear Plugs
- Cold Chisel
- Cutting Pliers and Linesmen
- Flint’s striker and others as needed.

Step 2: Understand the Different Weld Passes
Welding Tubes and Pipes requires a lot of weld passes such as:
- Root Passes – This is to fill the gap at the 2 sections of tubing and piping.
- Fill Passes – The purpose of these passes is to fill the groove.
- Hot Passes – These passes are to join root weld in every face of the groove.
- Cap Passes – These are the last passes, the purpose is to build up the weld such as removing the contamination, grinding, and others.
Step 3: Learn About Different Welding Positions for Tube and Pipe Welding
- 1G Position – This is the common position that is used but much crucial to understand. It is a flat welding position due to the tubes and pipes are at rest and can be rotated during the welding process.
- 2G Position – The 2G position is fixed and you do not need to rotate the tubes and pipes during welding. This welding position is much more sturdy and secure.
- 5G Position – This is the position where the pipes and tubes are horizontal the same as the 1G position. But the 5G position is fixed and the welding process is in different positions either overhead, vertically down, or vertically up.
- 6G Position – This is the most complex position compared to others because it covers types of welding positions. To get the finish process using this position the tubes and pipes must be at 45 degree angle.

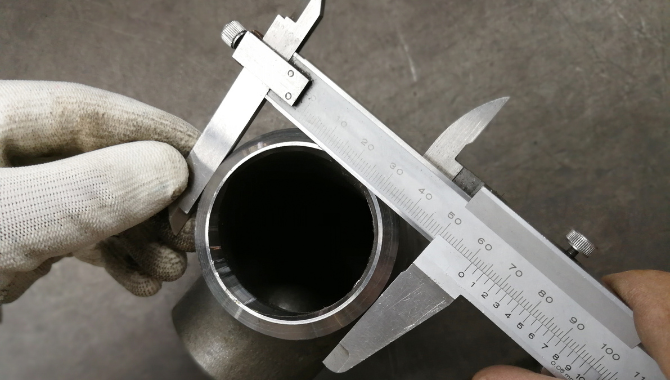
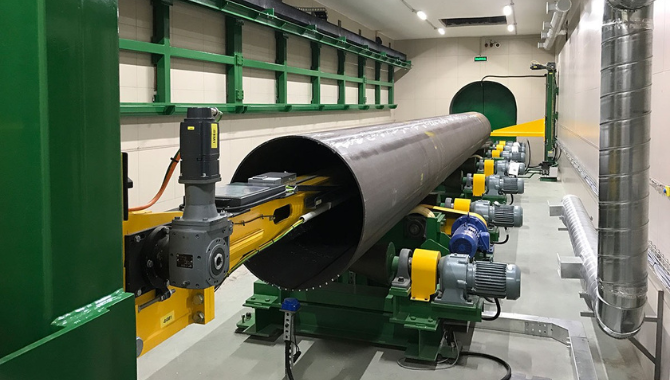
Step 4: Cutting Process
Before the cutting process make sure to prepare the measuring tape and pencil or marker and mark the pipe in a perpendicular direction into the center line. After that cut using an angle grinder or any cutting tools to get the perfect circular edge. But before welding, the tube and pipes must be at a certain length and much better if shortened.
Step 5: Perform Tube and Pipe Facing or Beveling
Pipe beveling is another step that is highly needed during the preparation of pipe and tube welding. Pipe beveling is about the angle forming that ranges from 30 degrees to 35 degrees for every end of a tube or pipe to give great quality welding. Aside from that, the beveling process is also applicable for deburring the ends of every cut tube and pipe to add safety and aesthetic appearance

Step 6: Tubes and Pipes Cleaning
After the beveling process, it is necessary to clean tubes and pipes by removing the water, oil rust, and other elements for better welding. The beveled surface must be completely clean from different foreign objects that happened by simply using files, wire brushes, and other essential tools used for cleaning.
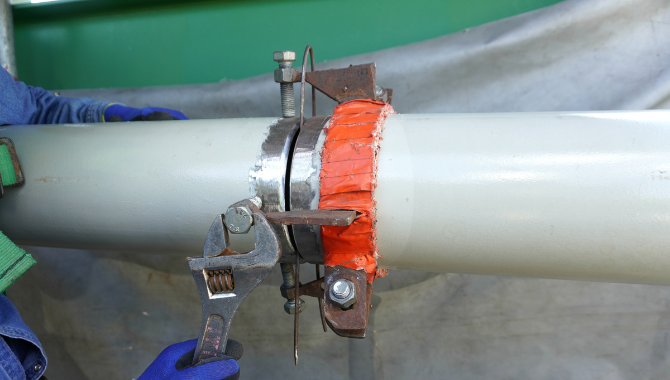
Step 7: Joint Aligning
In this step, the tubes and pipes must be always in place which is why you need to use specialized tools. The common tools that need to be used for it are alignment clamps. With the help of this tool, the tubes and pipe must always be in place and it helps to maintain the proper gaps in every edge before the welding process. This means that through joint alignment you can easily hold, and move the the tubes and pipes without any separation between the two. Make sure that the tubes or pipes must be held by a clamp.
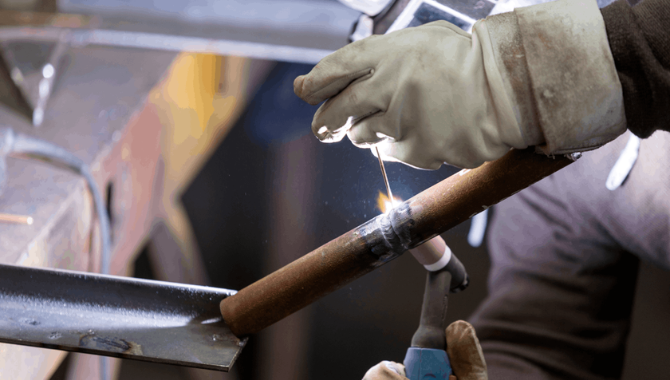
Step 8: Tack Welding and Backing Rings
Tack welding is known as spot welding wherein two tubes and pipes are joined together using a temporary welding. The purpose of this process is to keep the two parts ready before the final welding happens. Even though it is already joined together it offers great benefits such as easy to remove, allowing precise alignment, easy to change position as required
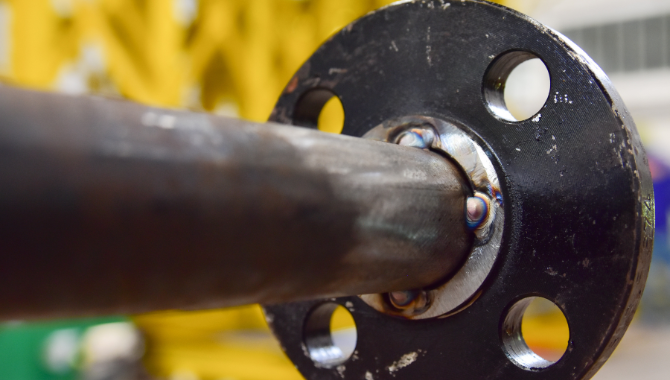
The backing ring is placed at the center of two pipes and tubes during the primary welding process. The purpose of this is to secure the joint form and don’t worry it can be melted during the welding.
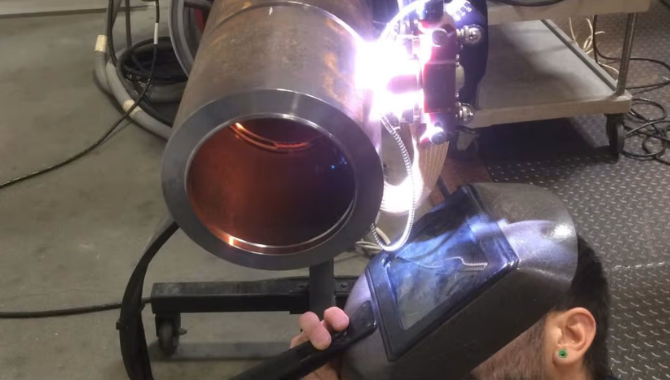
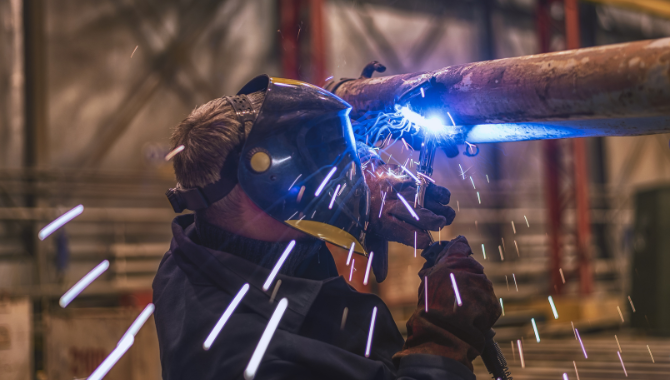
Step 9: Choosing Different Welding Technique
- MIG MAG or Semi-Automated Welding
- Welding With Electrode
- SAW or Submerged Arc Welding
- TIG or Tungsten Inert Gas Welding
- HED or High Energy Density Welding
- Plasma Arc Welding

Step 10: Post Welding
After the welding of tubes and pipes, there are other steps to be followed which are the post-welding such as:
- Inspection: After welding, it’s better to check if there are any problems such as incomplete penetrations, cracks, and other defects in finished welded tubes and pipes.
- Grinding Process. These are processes of removing any excess materials in welded pipes and tubes. Also, cleaning all welded parts ensures you get a smooth finish.
Step 11: Tube and Pipes Welding Test
After finishing welding, Highly required that you try pressure tests, inspections, and
others to ensure you meet the quality you need. Aside from that the first that need to do are:
- Visual Inspections – These are common and cheapest processes to check and inspect the welded parts of tubes and pipes. It happens by simply determining the quality of a welding and identifying the internal weld problem.
- Liquid Dye Penetration Test – This test is much better than visual inspections. This happens by simply using a dye and then spraying or brushing into the surface of welded tubes and pipes. The purpose of this i to see the parts that have a defect or crack. It is tested but very expensive.
- X-ray Test – This is a risky testing process that’s why make sure you are an expert or you are with a qualified expert for safety. This is perfect to use if the quality of the weld is crucial.
CONCLUSIONS
Welding tubes and pipes are not easy and highly prone to accidents. That is why you need to have enough knowledge by following the welding steps, standard processes, and safety precautions. Aside from that select the best welding process or machines that are suitable for your needs. By following that, you can rest assured to get a great welding outcome.
What are the common problems that need to be prevented during welding tubes and pipes?
- Cracks
- Undercuts
- Porosity
- Misalignment
- Overlap
- Incomplete Penetration
- Lack of Fusion
- Spatter and more